Openers · Vellore
Photo-Eye Sensor Alignment or Replacement in Vellore
Since shelving went up along the garage wall, the door will not close and both sensor lights are dead.
In plain words
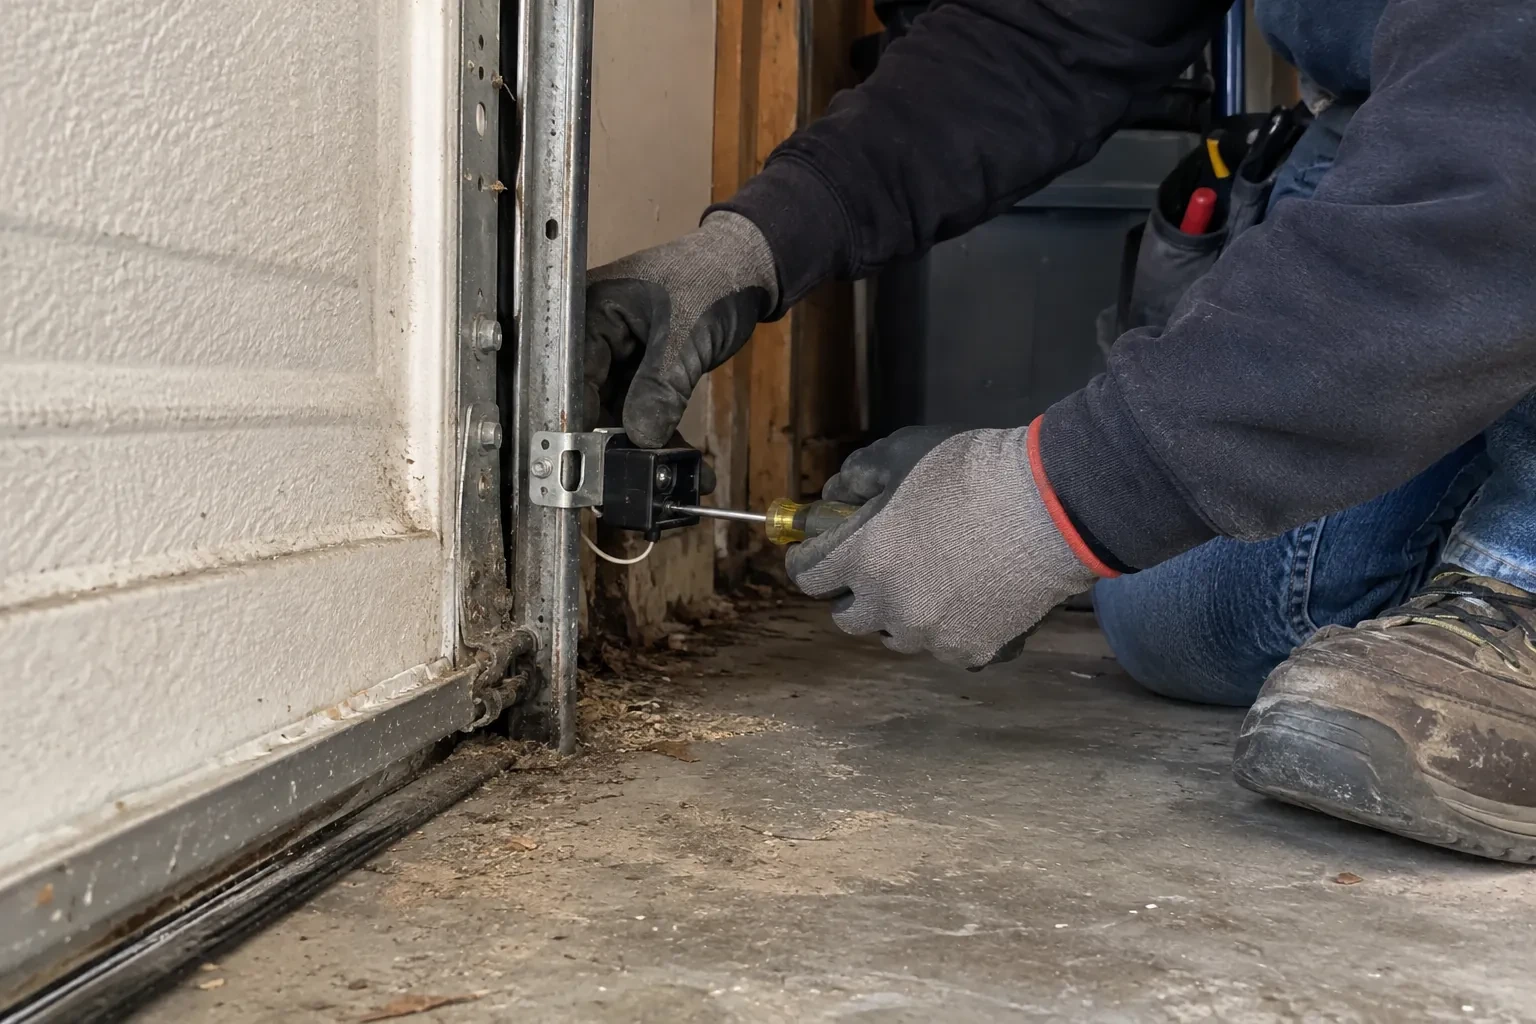
Your opener has been trying to tell you what is wrong. The head unit flashes its light a set number of times, or blinks a pattern on its up and down arrows, and each pattern maps to a cause on the maker's chart: beam blocked or misaligned, wire cut or disconnected, wires reversed or shorted. Down at the floor, many sensor pairs carry an indicator on each side, though some older pairs light only the receiver; check that model's chart, since a receiving light going out or flickering usually points to alignment. The technician reads both sets of signals first, which is why the repair usually takes one visit.
How the visit goesSomeone backed the car in a little too far, a bin or a bicycle brushed the track, and since then the door starts to close and comes back up. One sensor now sits at a slightly different angle from the other.
Photo-Eye Sensor Alignment or Replacement
How the visit goes
Reading the two small lights
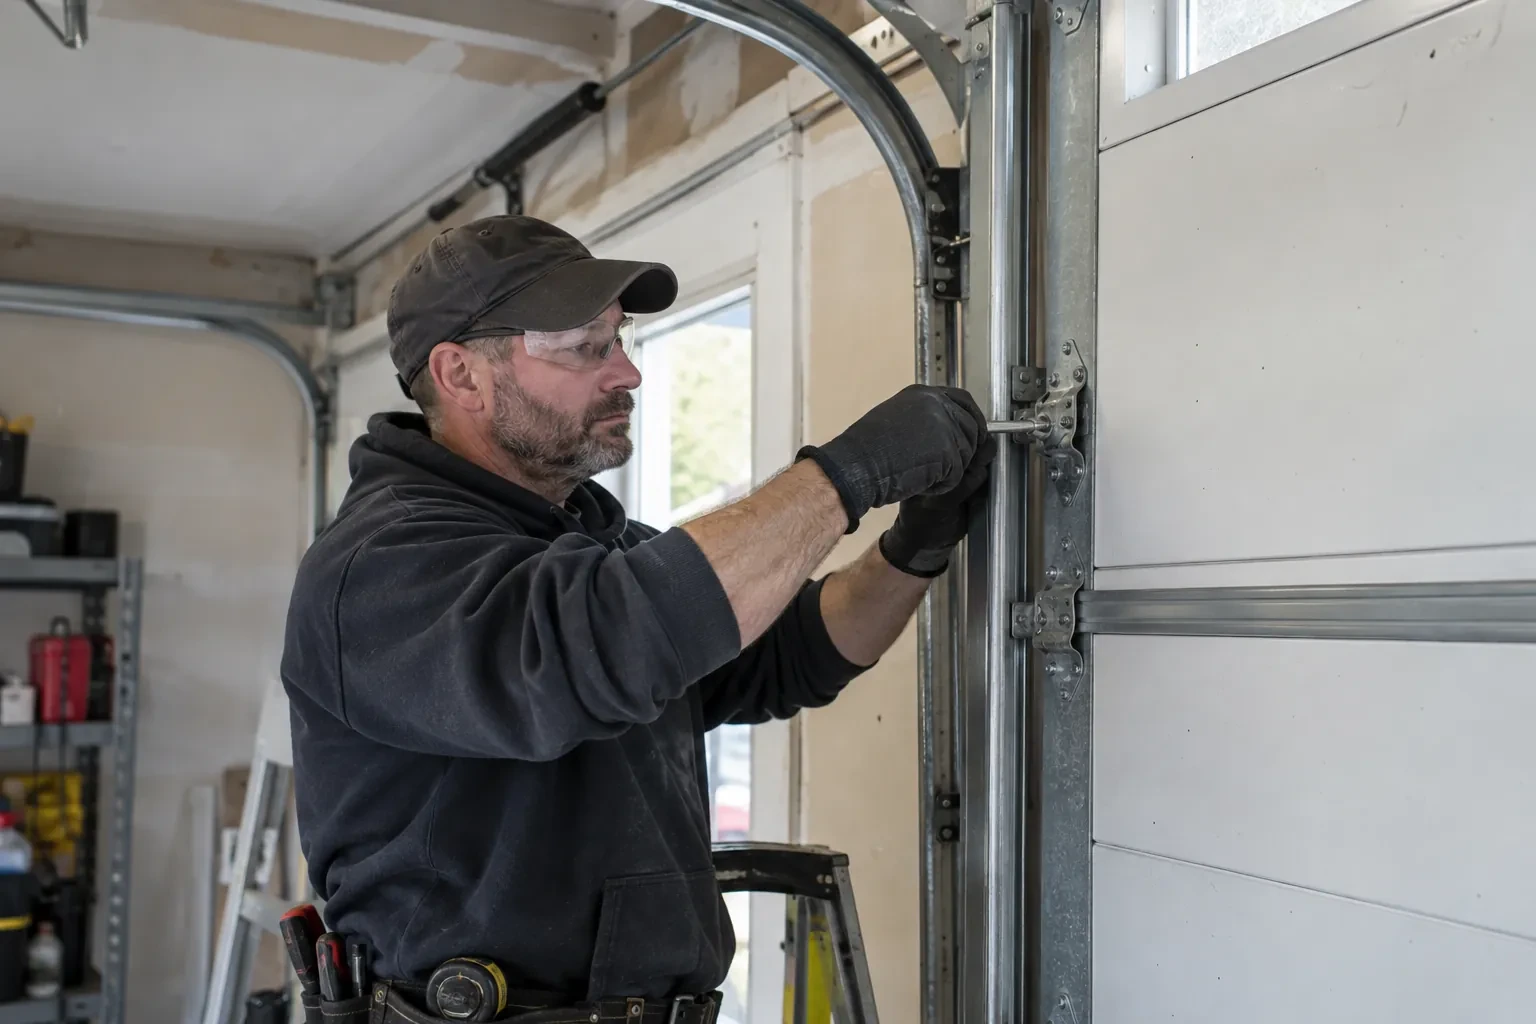
Most sensor pairs carry an indicator on each side, though some older models light only the receiver, so the technician checks that model's own chart first. On most openers the sending eye shows one colour and the receiving eye another, and both should glow without a flicker. If the sending light is steady and the receiving light is dark or blinking, the beam is not landing where it should: misalignment, an obstruction or a dirty lens. If both are dark, the pair has no power, pointing up the wire to a cut, a loose terminal or reversed connections. The technician also nudges each bracket gently while watching the light; a flicker on touch means a loose mount.
Dealing with the sun
A receiver that looks into the low sun is fixed by geometry. The simplest cure is to swap the two sensors side to side so the receiver looks away from the doorway light and the sending eye, which is not affected, takes the sunny position. Where the layout rules that out, a small hood or shade is fitted over the receiving lens, deep enough to shield it without narrowing the beam path. The wiring is extended or re-routed as needed and both lights are checked at the time of day the fault used to appear, or with a strong light aimed at the lens to stand in for the sun.
Wiring that stays put
The wire between the head unit and the sensors has been secured along the ceiling and walls, clipped clear of the track and, where it was exposed, run inside a protective channel. Two things keep it that way. First, when anything is fastened to those walls or that ceiling, from shelving to a bike hook to drywall, look for the thin wire before driving a screw or a staple. Second, if mice have been in the garage, a chewed wire is a common sign, so a dark sensor light after a sighting is worth a look at the run. Either way, the sensor lights will tell you the moment the circuit is open.
Photo-Eye Sensor Alignment or Replacement
In the van
Wire connectors
Wing nuts and carriage bolts
Protective wire channel
Receiving-eye sun shade
Multimeter
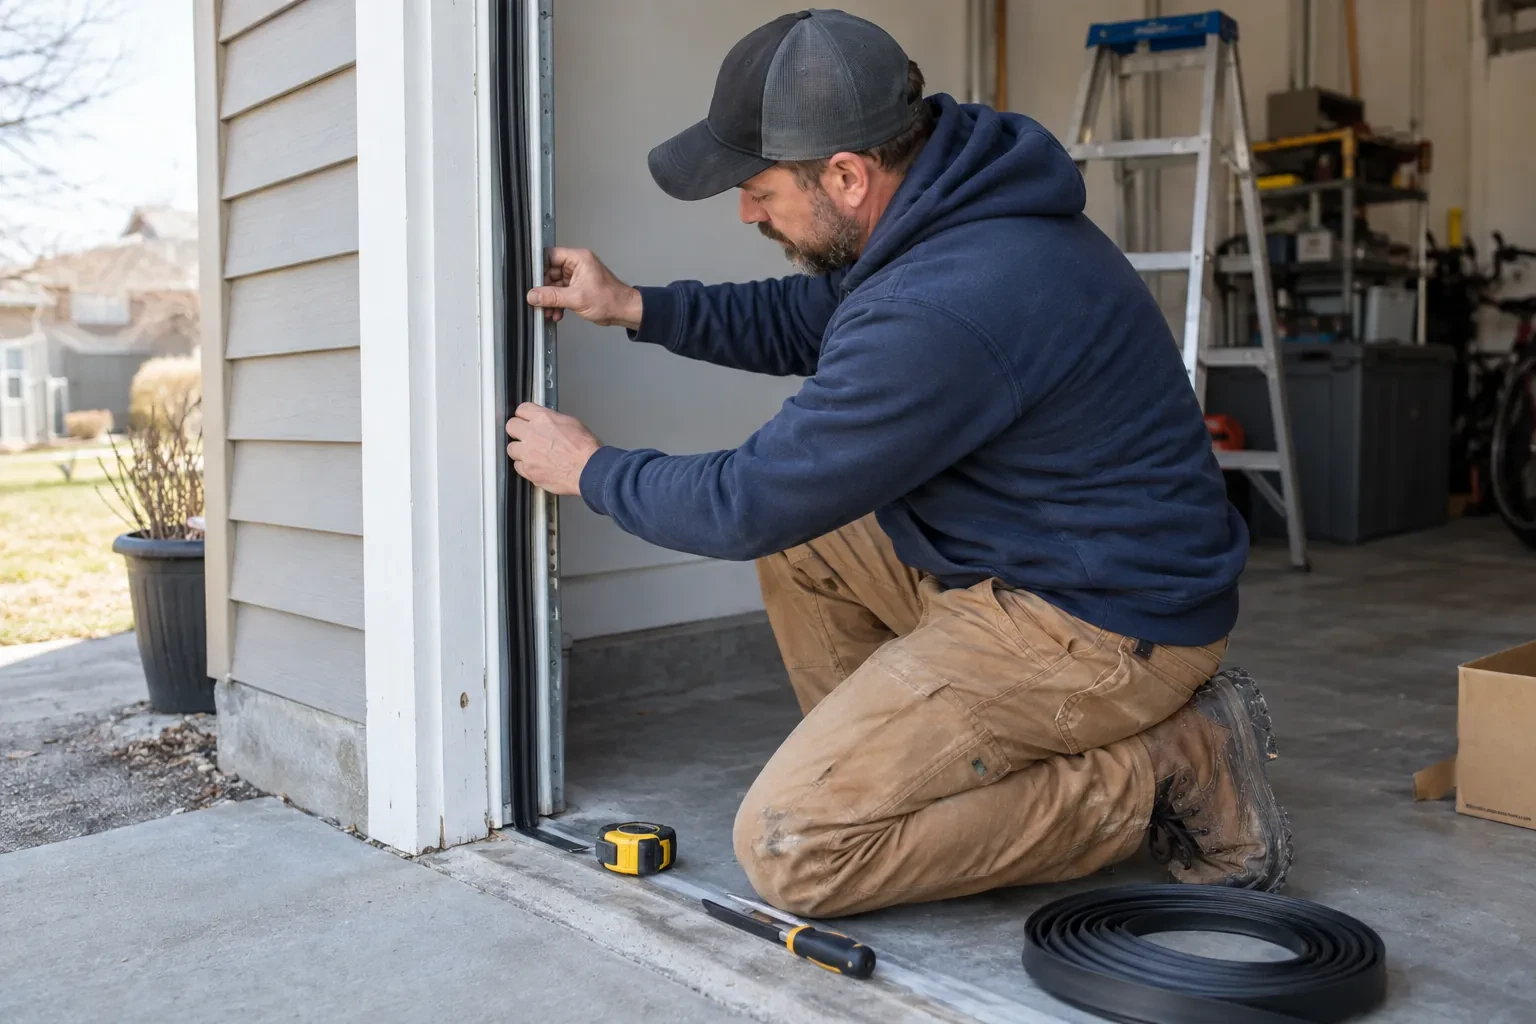
Photo-Eye Sensor Alignment or Replacement
What affects the quote
An opener without a sensor circuit
Where the operator predates monitored sensors and cannot accept a pair, the quote changes shape into a modern operator with its own sensors, which is discussed as a separate decision rather than folded in.
Alignment or replacement
Cleaning, re-aiming and refastening the existing pair is the smaller job. Fitting a new matched sending and receiving pair is the larger one, and the diagnosis at the door decides which applies before the quote is settled.
Undoing an earlier shortcut
Sensors taped together beside the motor, mismatched pairs from different generations or a bypassed circuit are put right first, which means new wire down each side and fresh brackets at the doorway.
What to have ready
- How many doors and openers are there?
- Which direction does the garage door face?
- When you press close, does the door bounce back, sit still, or go down only with the wall button held?
Photo-Eye Sensor Alignment or Replacement: questions
QuestionsDo sensors wear out with age?
They do, slowly. The infrared emitter and the receiver dim over many years, lenses craze or cloud from sun and salt, housings crack, and water finds its way in at floor level. A pair that needs re-aligning more and more often, or whose light drifts between steady and flickering with nothing touched, is usually ageing. Because pairs are matched to the opener, an older opener is worth identifying early so the right replacement is on hand.
Could the wiring be the problem rather than the sensors?
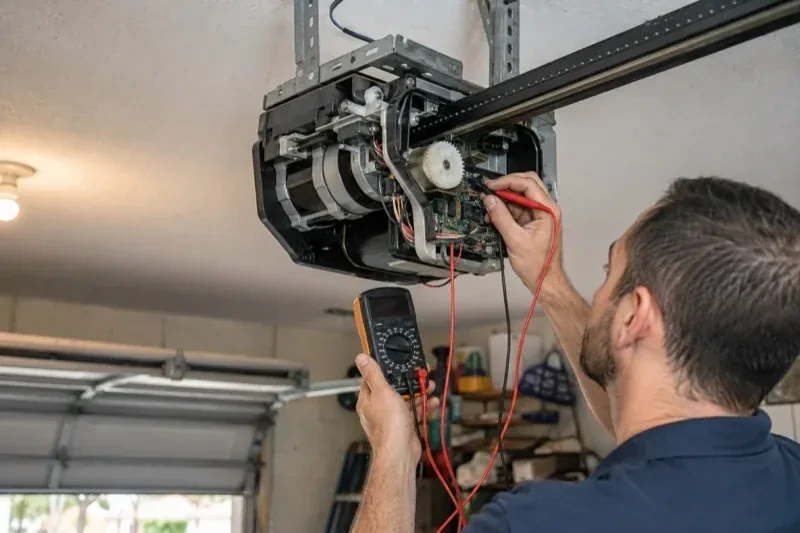
Frequently. The sensors are fed by a thin two-conductor wire from the head unit that crosses the ceiling and drops down both sides of the door, and it is pierced by staples, cut by shelving screws, chewed by mice or pulled from its terminals more often than a sensor fails. Both sensor lights dark, or an opener code for an open or reversed circuit, points to the wire. The technician tests the run with a meter and repairs or replaces the damaged section.
How long does a sensor visit take?
Alignment, cleaning and a bracket adjustment are done inside an hour on most doors, including the two tests at the end. Replacing the pair adds a little for wiring and setup. Re-running the wire all the way from the motor to both sensors is the part that stretches a visit, especially where the wire is behind a finished ceiling or the garage is full. Having the floor by the door clear before arrival helps.
Related services
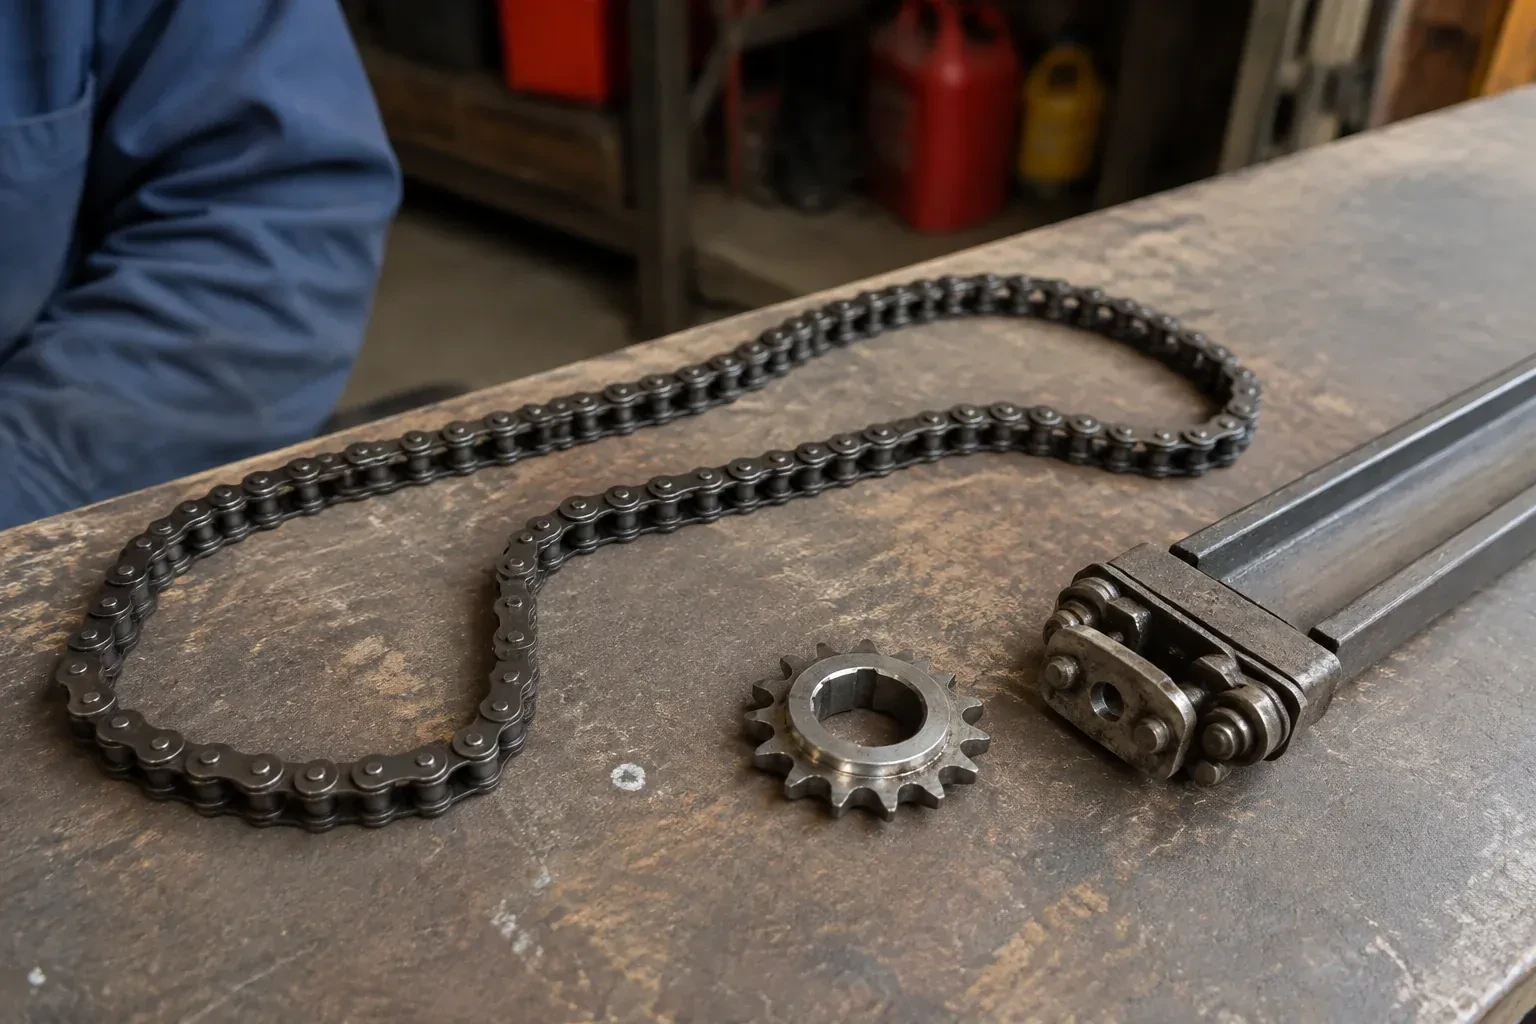
- Chain-Drive Opener RepairThe door opens about a third of the way and stops.
- Belt-Drive Opener RepairThe belt looks fine from a distance, but up close the rubber has cracked across the back in dozens of places and, in one spot, you can see the steel cords showing through.
- Garage Door Opener ReplacementDuring the ice storm the power was off for two days.